
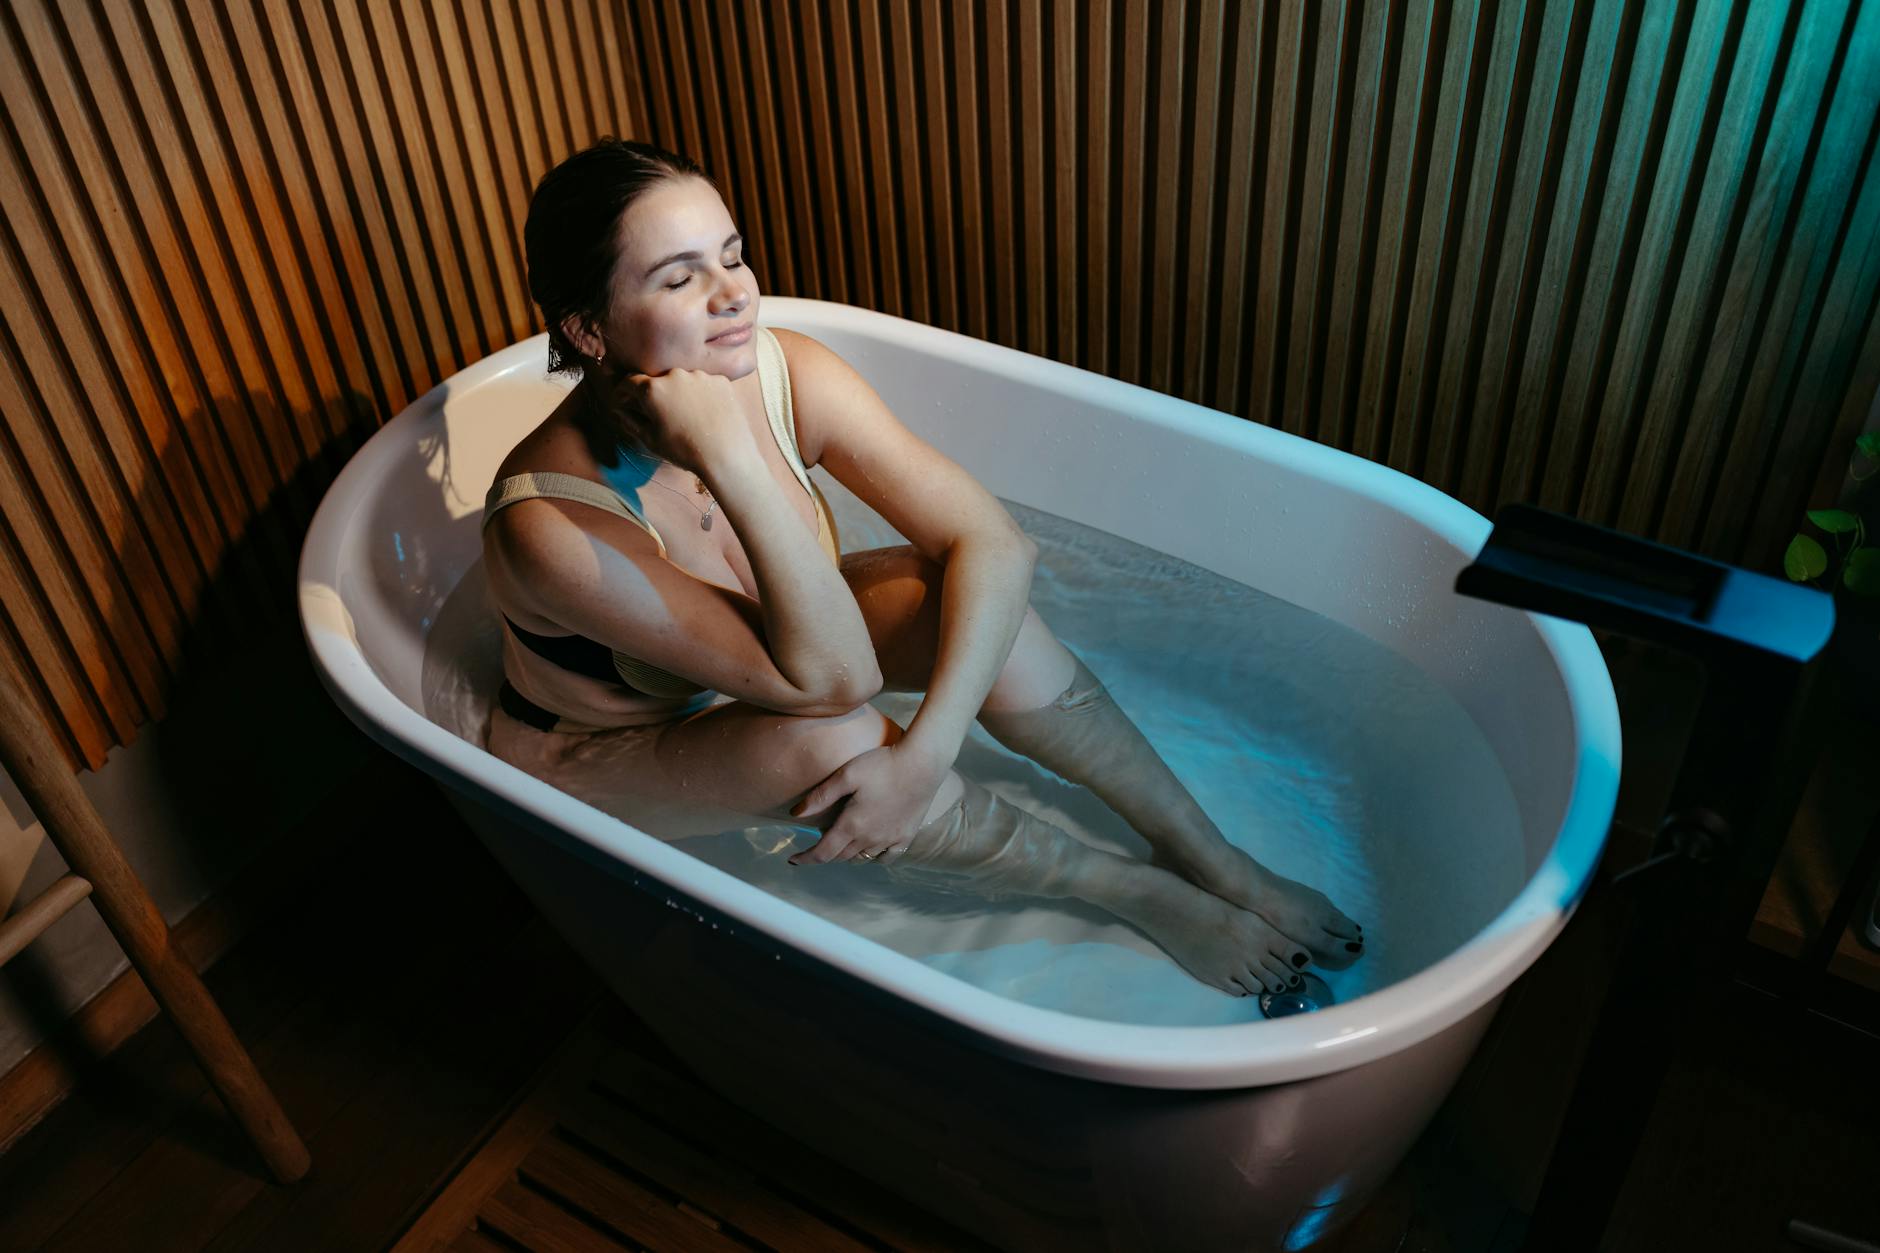
Home Wellness Room with Cold Plunge: How to Design Your Space in 200-430 Square Feet
Cold plunge therapy has moved well beyond professional sports facilities and high-end spas. Today, more and more health-conscious individuals are bringing cold immersion directly into their homes - creating dedicated recovery spaces that support both physical performance and mental well-being. If you have a spare 200 to 430 square feet and a clear vision for your personal wellness zone, a home cold plunge setup is entirely within reach. The challenge is not finding the motivation - it is knowing exactly how to plan the space correctly from the start. Poor planning leads to costly mistakes: wrong drainage placement, insufficient ventilation, or a layout that simply does not feel right to use every day. This guide walks you through every key decision, from choosing the right room to selecting the correct equipment, finishing materials, and realistic budget expectations. Whether you are an athlete, a biohacker, or simply someone who takes recovery seriously, this article gives you a practical, step-by-step framework for building a home wellness room you will actually use.
Choosing the Right Location in Your Home
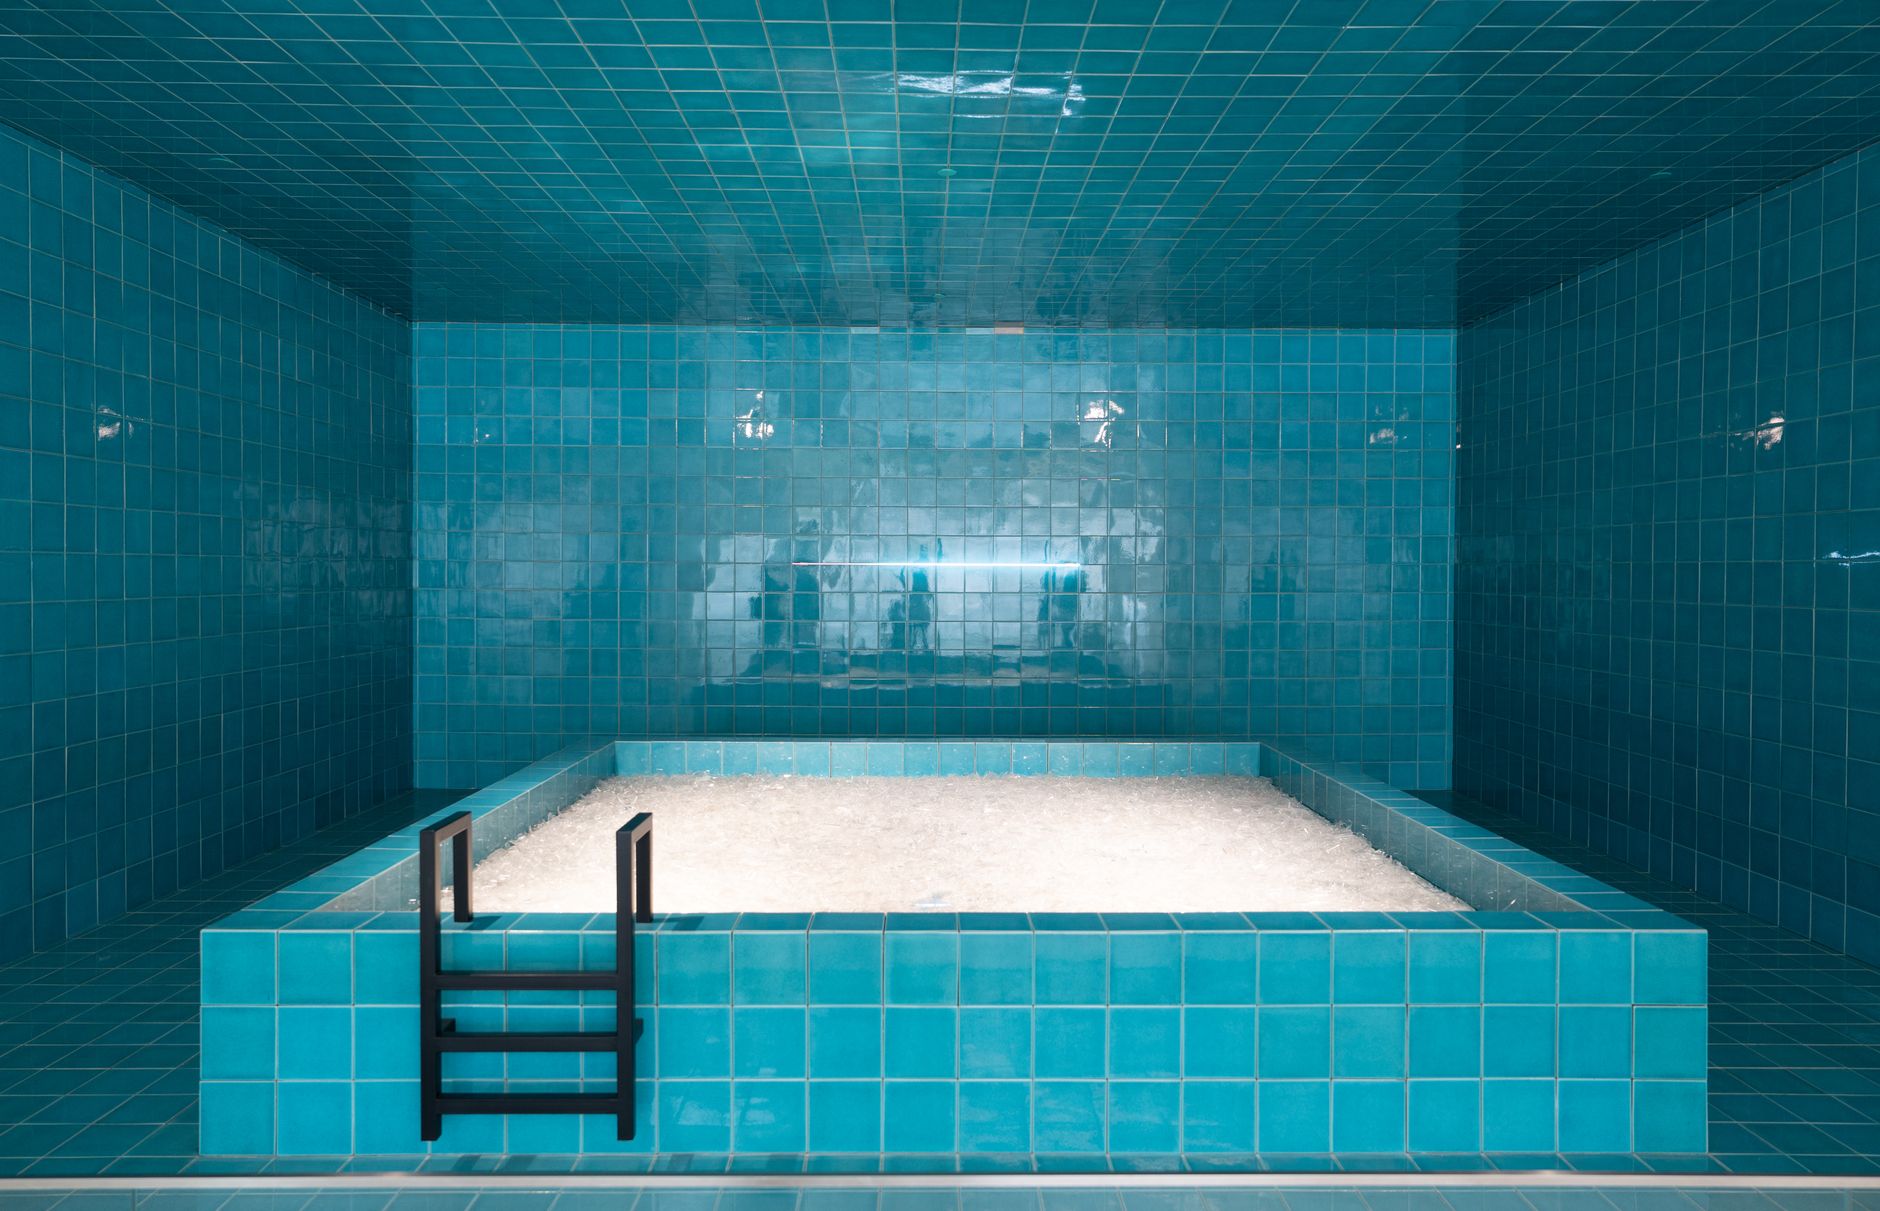
The first and most important decision is where your cold plunge space will live. Each location comes with its own set of advantages and constraints, and the right choice depends on your home layout, lifestyle, and how much renovation work you are prepared to undertake.
Bathroom or Wet Room
An existing bathroom is often the most practical starting point. Drainage infrastructure is already in place, waterproofing is handled, and the plumbing connections are nearby. The main limitation is size - most standard bathrooms fall below the ideal footprint for a full wellness zone. However, if you have a larger family bathroom or a separate shower room you can repurpose, this option keeps installation costs lower and the renovation scope manageable.
Garage Conversion
A garage offers generous square footage, concrete floors that handle moisture well, and easy access for delivering larger equipment like a cold plunge unit with a built-in chiller. The key challenges are insulation and humidity control. Garages are rarely insulated to living-space standards, so thermal management becomes critical - especially if you plan to use the space year-round. Budget for proper insulation, a floor drain, and adequate heating for the ambient room temperature.
Basement
Basements are a strong choice for cold plunge rooms. They stay naturally cool, which reduces the workload on your chiller system, and they offer excellent sound insulation from the rest of the house. The primary concern is moisture - any existing damp issues must be fully resolved before installation begins. A sump pump and a proper vapor barrier are non-negotiable in most basement setups.
Garden Room or Outdoor Structure
For those with outdoor space, a purpose-built garden room or converted outbuilding creates a truly dedicated wellness sanctuary. The separation from the main house adds a ritual quality to the experience - you leave your everyday environment to recover. Outdoor structures require the most planning around weatherproofing, electrical supply, and pipe insulation to prevent freezing in winter months.
Installation Requirements: The Technical Essentials
Before any equipment is ordered or any tile is chosen, three infrastructure elements must be in place. Skipping or underestimating any one of these is the single most common planning mistake.
Drainage
A cold plunge unit holds a significant volume of water and requires a proper floor drain capable of handling full emptying during maintenance. The drain must be positioned correctly relative to the unit - ideally directly beneath or adjacent to it. If you are converting a space without existing drainage, factor in the cost and complexity of breaking the floor to install one. A gravity-fed drain is the most reliable option; a pump-assisted drain adds complexity but is sometimes necessary depending on your floor plan.
Electrical Supply
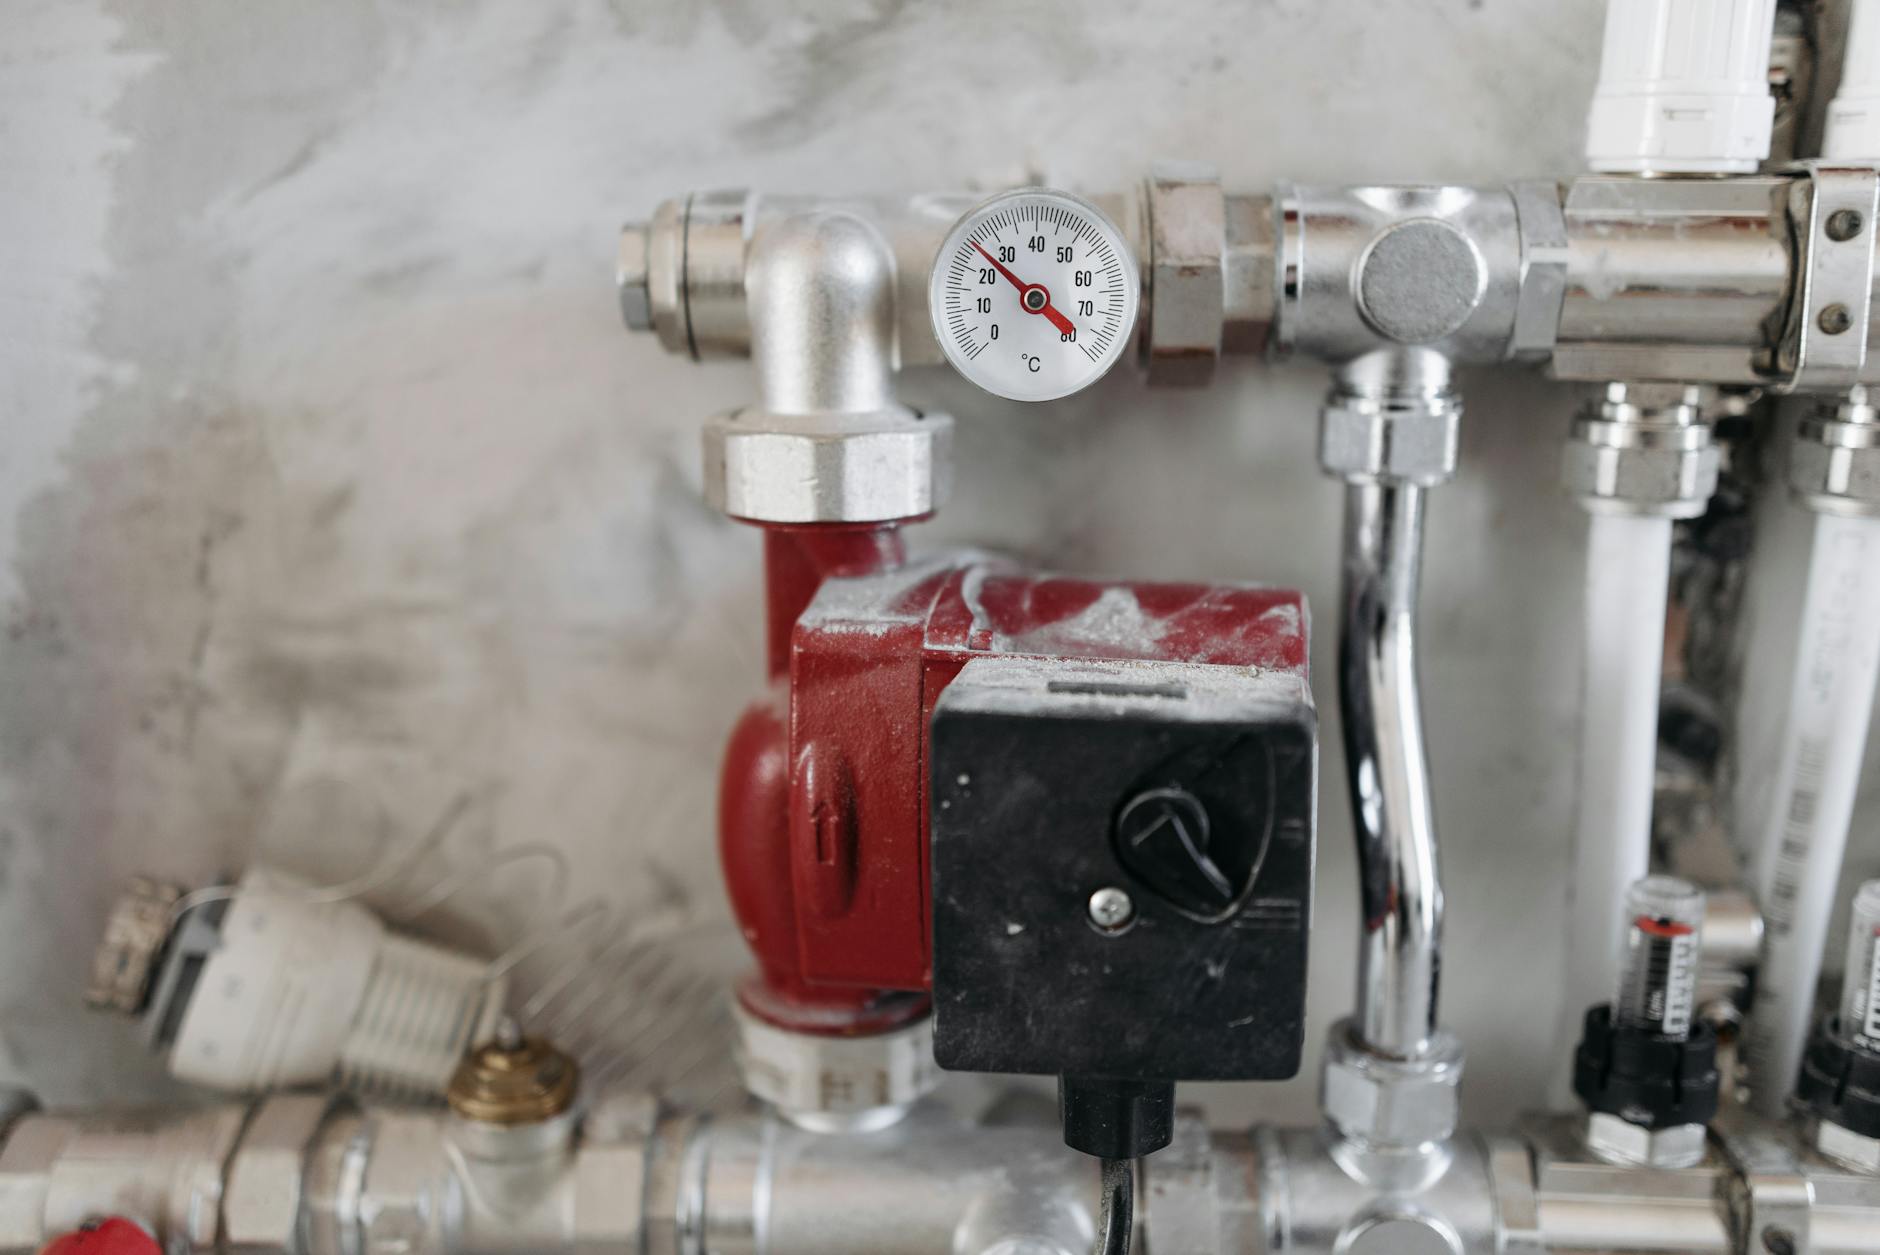
A cold plunge system with an integrated chiller - capable of maintaining temperatures as precise as 2°C - requires a dedicated electrical circuit. In most cases, this means a 16A or 32A circuit installed by a licensed electrician. Do not attempt to run high-load wellness equipment from a standard household socket on an existing circuit. Plan your electrical layout before any walls are closed, and always use waterproof-rated outlets and switches in wet areas.
Ventilation
Cold water evaporates less than hot, but the ambient moisture in a wellness room - especially one that includes a sauna or steam element - is significant. Without adequate mechanical ventilation, mold becomes a serious long-term risk to both the structure and your health. Install an extraction fan rated for the room volume, ideally with a humidity sensor that activates automatically. Air exchange of at least 10 times per hour is a reasonable baseline for a wet wellness room.
Selecting the Right Equipment for Your Space
Once your infrastructure is planned, equipment selection becomes the central decision. For a home wellness room, the cold plunge unit itself defines the experience. Look for systems that offer precise temperature control across a wide range - from cold immersion at 2°C up to contrast therapy at warmer settings. Units manufactured from premium sanitary acrylic are well suited to residential environments: they are durable, hygienic, easy to clean, and visually appropriate for a high-finish wellness space.
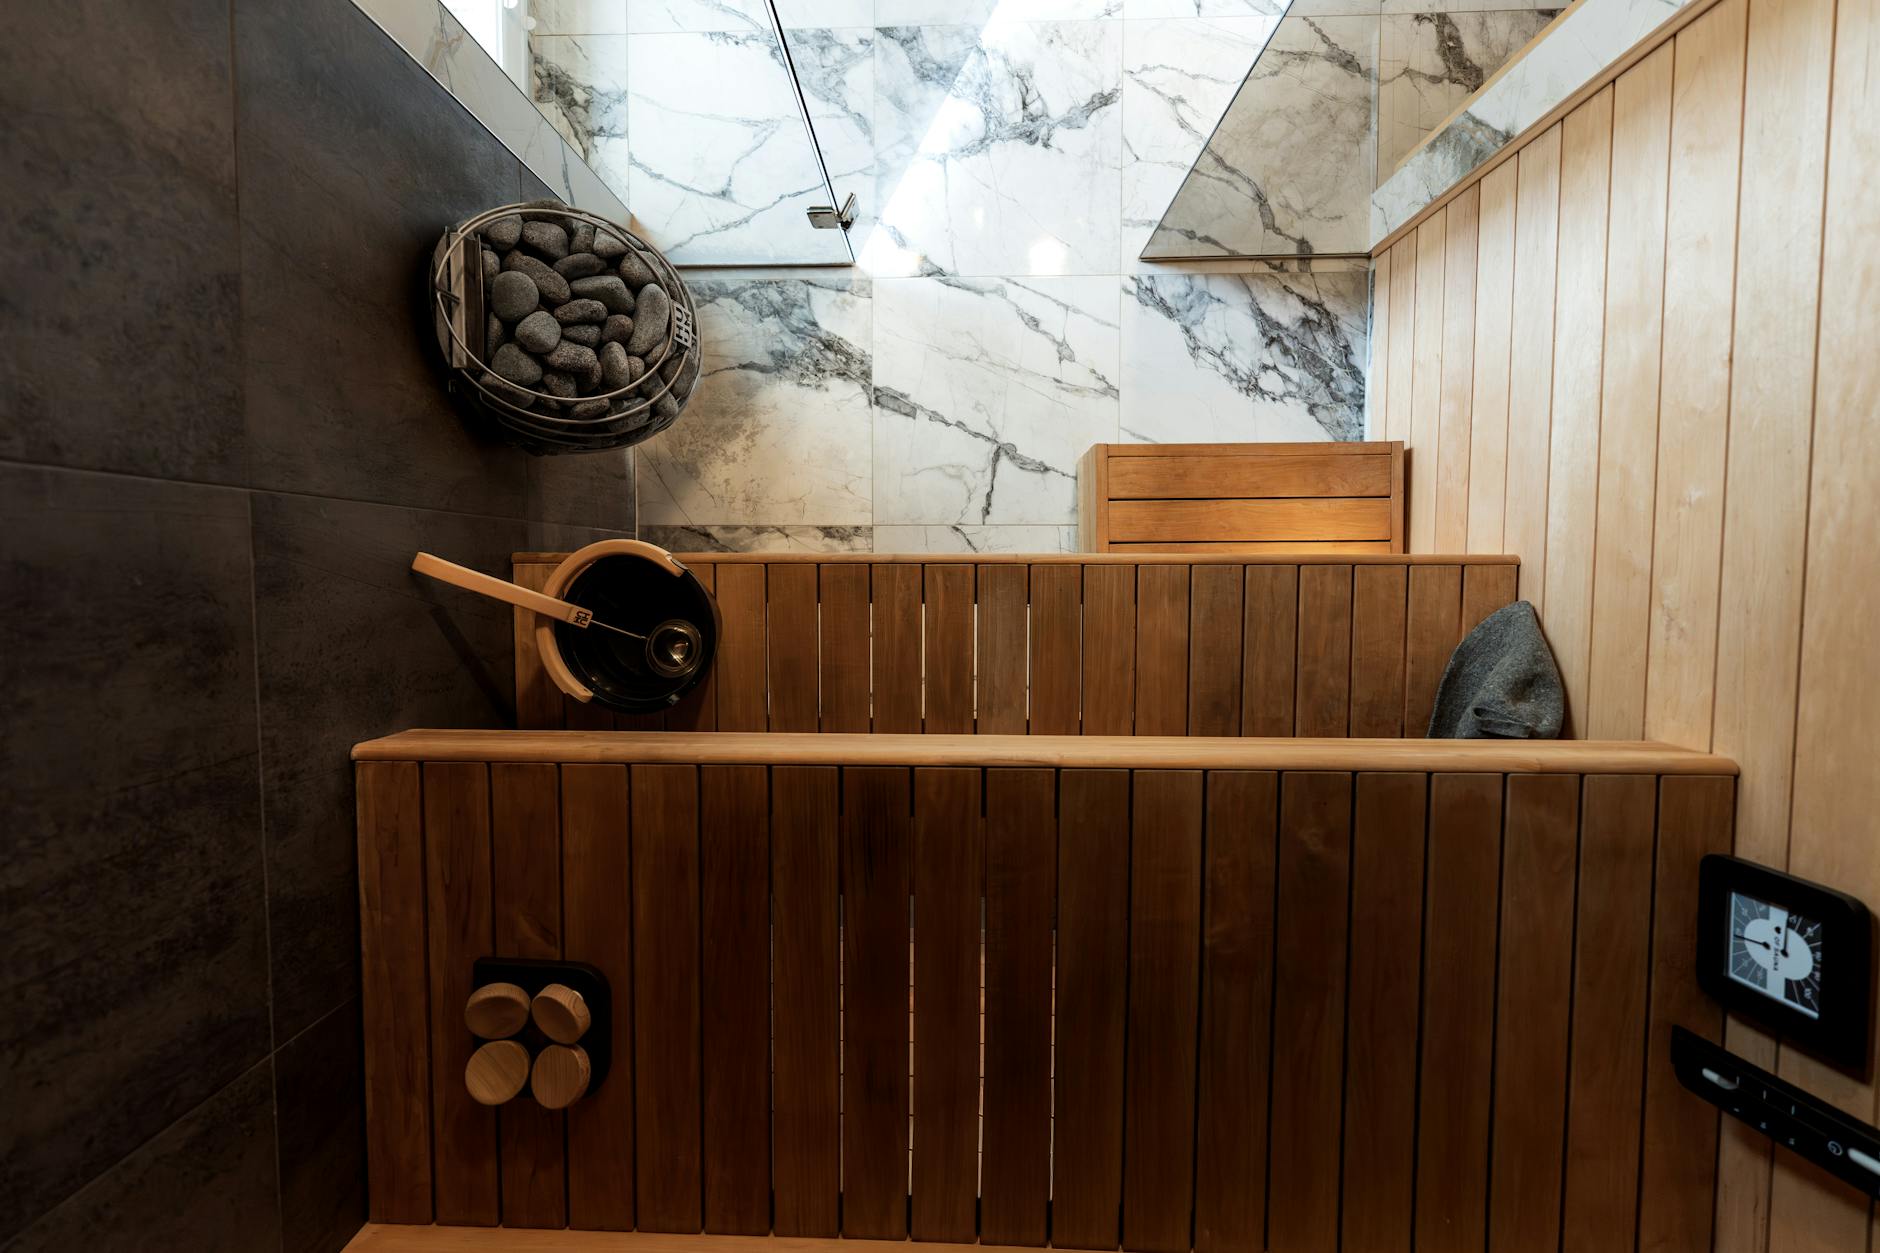
For spaces in the 200 to 430 square foot range, consider how the cold plunge will coexist with other elements. Common combinations include:
- Cold plunge plus infrared sauna - contrast therapy in a single session, requiring careful ventilation zoning
- Cold plunge plus stretching or meditation area - a recovery-focused layout that prioritizes calm and function
- Cold plunge as a standalone feature - maximizing space for movement, storage, and visual design
Leave a minimum clear zone of 80 cm around the unit on at least two sides. This allows safe entry and exit, comfortable use, and access for routine maintenance. Do not position the unit directly against an exterior wall without adequate insulation behind it.
Design and Aesthetics: Creating a Space That Invites Daily Use
Functionality brings you to the room; design keeps you coming back. A well-considered aesthetic transforms a utility space into a genuine wellness environment.
Materials
Choose moisture-resistant materials throughout. Natural stone, large-format porcelain tiles, and sealed concrete are all appropriate for floors and walls. Wood elements - particularly thermowood or heat-treated panels - add warmth and texture but must be properly sealed and ventilated. Avoid materials that absorb moisture or degrade with temperature fluctuations.
Lighting
Layer your lighting to match different uses. Bright, functional lighting for safety during entry and exit; warmer, dimmer ambient lighting for the recovery and relaxation phases. IP65-rated recessed downlights are a practical choice for wet areas. Consider adding LED strip lighting beneath the cold plunge unit for a premium visual effect that also subtly illuminates the floor for night use.
Color and Texture
Neutral, grounding tones - slate grey, warm white, natural oak, matte black - work well in wellness rooms. These palettes reduce visual noise and support a calm mental state, which is particularly valuable before and after cold immersion sessions.
Realistic Budget Expectations and Common Planning Mistakes
A complete home wellness room with a quality cold plunge system, proper installation, and thoughtful finishes is a meaningful investment. Costs vary significantly depending on the extent of structural work required, the quality of finishes chosen, and whether you are converting an existing space or building from scratch.
The most frequent planning mistakes include:
- Underestimating drainage complexity - always get a plumber to assess before finalizing layout
- Ignoring ventilation until after installation - retrofit ventilation is always more expensive and less effective
- Choosing aesthetics before function - beautiful tiles on a poorly drained floor create long-term problems
- Buying undersized equipment - a chiller system that struggles to maintain temperature in your climate is a frustrating daily experience
- No dedicated electrical circuit - a common shortcut that creates both safety risks and equipment reliability issues
Your Pre-Build Checklist
- Location confirmed and structural survey completed
- Floor drain position agreed with plumber
- Dedicated electrical circuit specified and quoted
- Ventilation system designed and specified
- Waterproofing plan in place for floors and walls
- Cold plunge unit dimensions confirmed against room layout
- Minimum 80 cm clearance zones marked on floor plan
- Lighting plan includes IP-rated fixtures for wet zones
- Material selections confirmed as moisture-resistant
- Maintenance access to unit considered in layout
Summary and Next Steps
Building a home wellness room around a cold plunge system is one of the most meaningful investments you can make in your long-term recovery and daily performance. With careful planning - starting with location, working through installation requirements, and finishing with design - even a 200 square foot space can become a genuinely premium wellness environment. The difference between a space that gets used every day and one that collects dust is almost always in the planning phase, not the execution. Get the fundamentals right, and the daily ritual follows naturally.
If you are ready to move from planning to action, visit caspera.pl and complete the contact form to receive detailed information about Caspera cold plunge systems, specifications, and to start your order process. The team will guide you through equipment selection based on your specific space and requirements.
Frequently Asked Questions
How much space do I really need for a home cold plunge setup?
A functional cold plunge installation can work in as little as 150 square feet, but 200 to 430 square feet gives you the comfort to combine the unit with additional recovery elements and move safely around the equipment. The unit itself requires a minimum 80 cm clearance zone on at least two sides.
Can I install a cold plunge in a garage or basement?
Yes - both are suitable locations. Garages require additional insulation and a floor drain installation. Basements must be fully free of damp issues before installation begins. Both locations benefit from a dedicated electrical circuit and mechanical ventilation.
What temperature range should a home cold plunge system offer?
A quality system should offer precise control from approximately 2°C up to 40°C. This range supports both cold immersion therapy and warmer contrast protocols, giving you flexibility as your recovery practice evolves over time.
How often does a cold plunge unit need maintenance?
Routine maintenance typically involves water treatment and filter checks every one to two weeks, with a full drain and clean monthly. Units manufactured from premium sanitary acrylic are straightforward to clean and maintain in a home environment.
Is a 5-year structural warranty standard for cold plunge units?
Warranty terms vary significantly between manufacturers. Caspera cold plunge systems include a 5-year warranty on construction, which reflects the premium materials and production standards applied to each unit. Always confirm warranty scope before purchasing any wellness equipment.
Ready for cold plunge?
CASPERA ARC/NØR - from 2°C
Polish premium cold plunge. Precise temperature control, sanitary acrylic, 5-year warranty. Delivery and installation across Poland.
Ask about the product →